


Summary:
- The right glass balustrade installation starts with the supporting structure, as this will influence the fixing method and overall design.
- Top fixed balustrades mount into the horizontal surface below, while side fixed balustrades attach to the face of the supporting structure and leave the upper edge clear.
- Installing glass balustrades on stairs requires accurate measurements and careful positioning, particularly around angles, landings and changes in level.
- Glass, hardware, fixings and structural support need to work together as a complete system, with relevant compliance requirements considered from the design stage.
- DIY installation can suit experienced DIYers and owner-builders who are comfortable working from detailed drawings, handling glass and installing the specified fixings.
- Complex geometry, uncertain structural conditions or compliance questions may make professional installation the more suitable option.
Glass balustrades may look simple once installed, but getting that clean finish takes careful planning. Accurate measurements, the right glass and secure structural fixings all play a part, particularly when working with stairs.
One of the biggest decisions in any glass balustrade installation is choosing between top fixed and side fixed. The right approach depends on your structure, the look you want and the complexity of the installation.
So, what does the process involve, and when is DIY realistic? Let’s take a closer look.
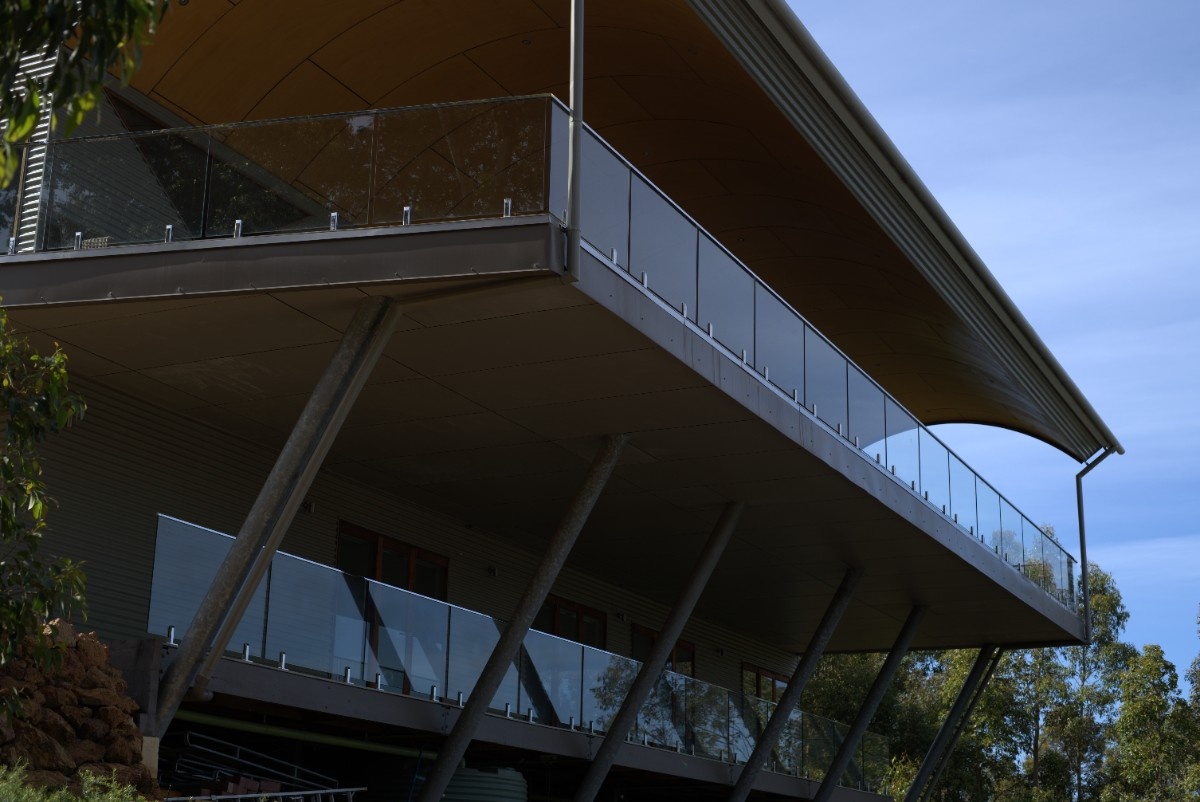
Start With the Structure
The fixing method needs to suit what sits behind or beneath the balustrade.
Glass balustrades act as safety barriers, so the supporting structure and fixing points matter. During planning, consider:
- The dimensions and layout of the area
- The structure available for fixing
- The glass specification
- Stairs, landings and changes in level
- Top fixed or side fixed installation
- Any required glass balustrade handrail
- Relevant compliance requirements
Getting these details right during the design stage helps ensure the chosen fixing method is suitable for the project.
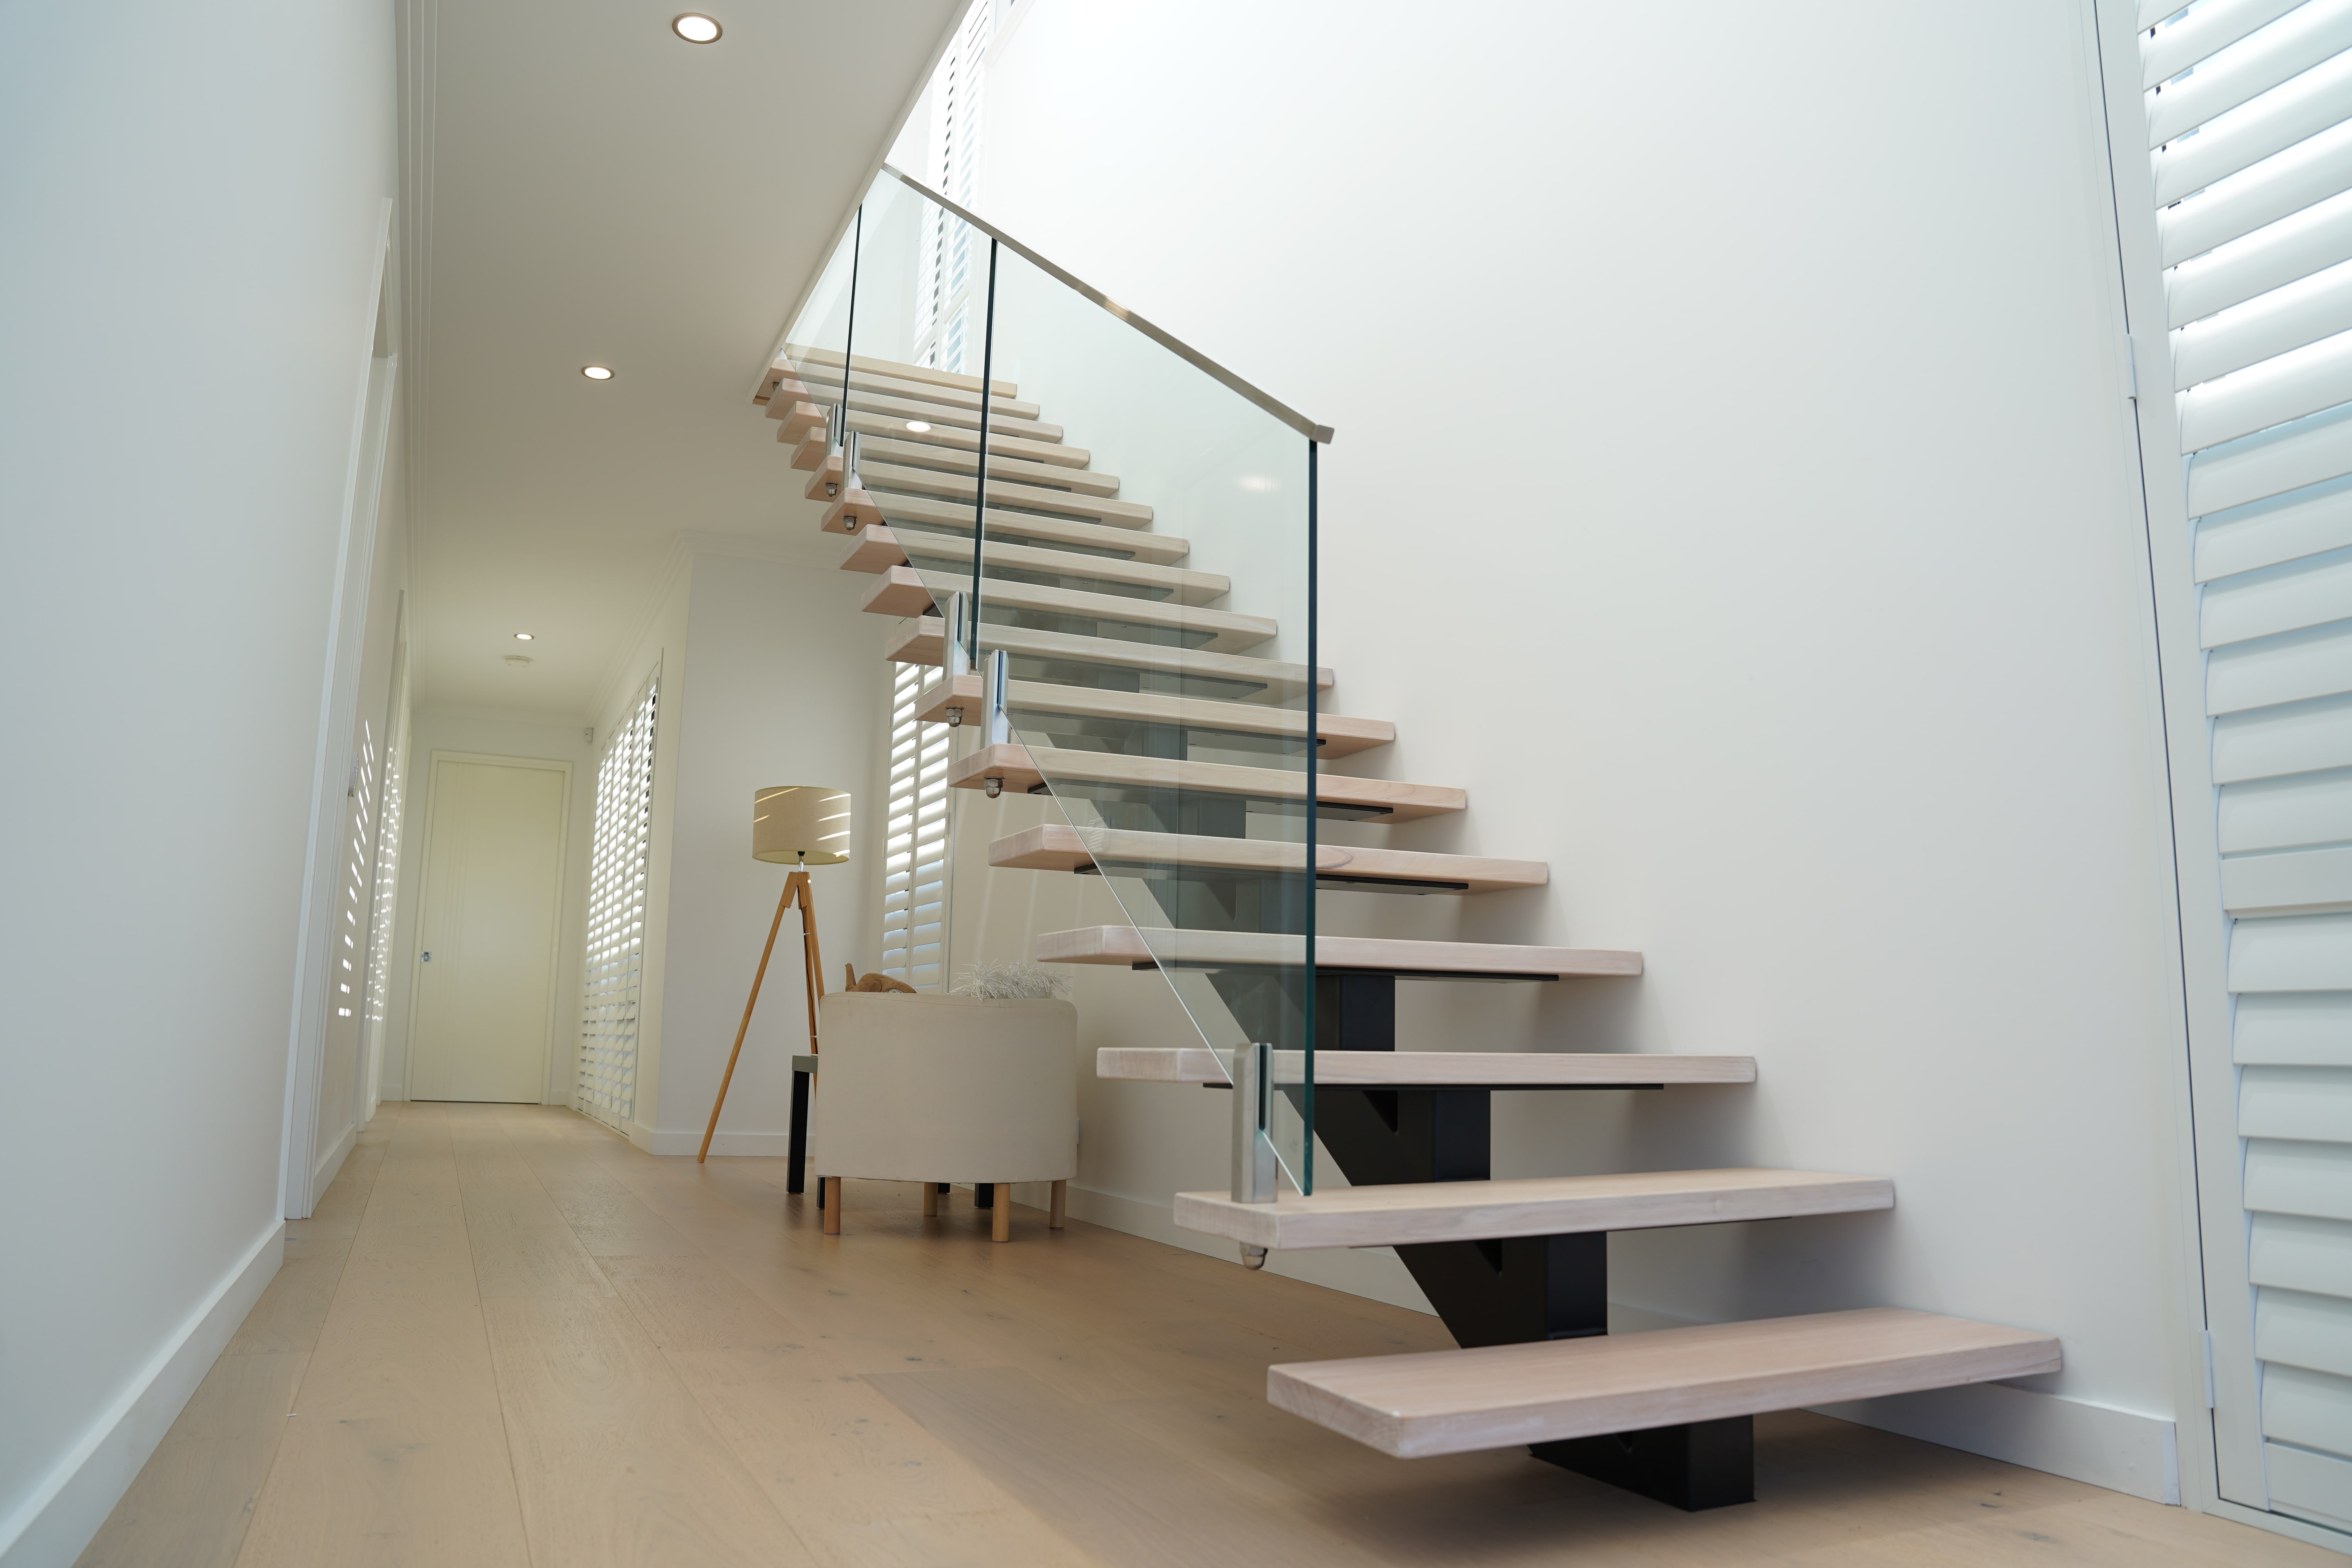
Top Fixed or Side Fixed?
This is where the installation methods start to look quite different.
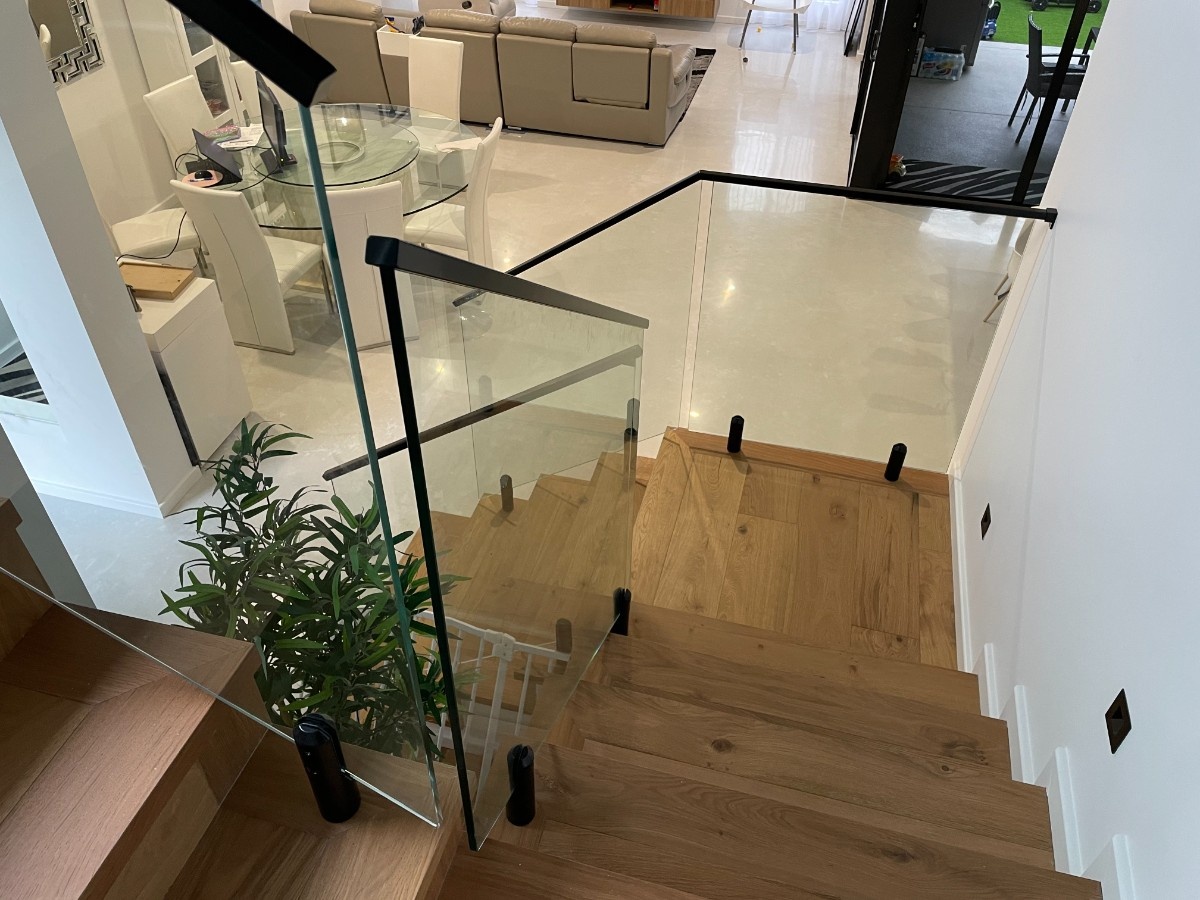
A top fixed balustrade is mounted into the horizontal surface beneath the glass. Depending on the design, you may secure the panels using spigots along the base. These offer a discreet fixing option for glass balustrades where suitable structural support is available below.
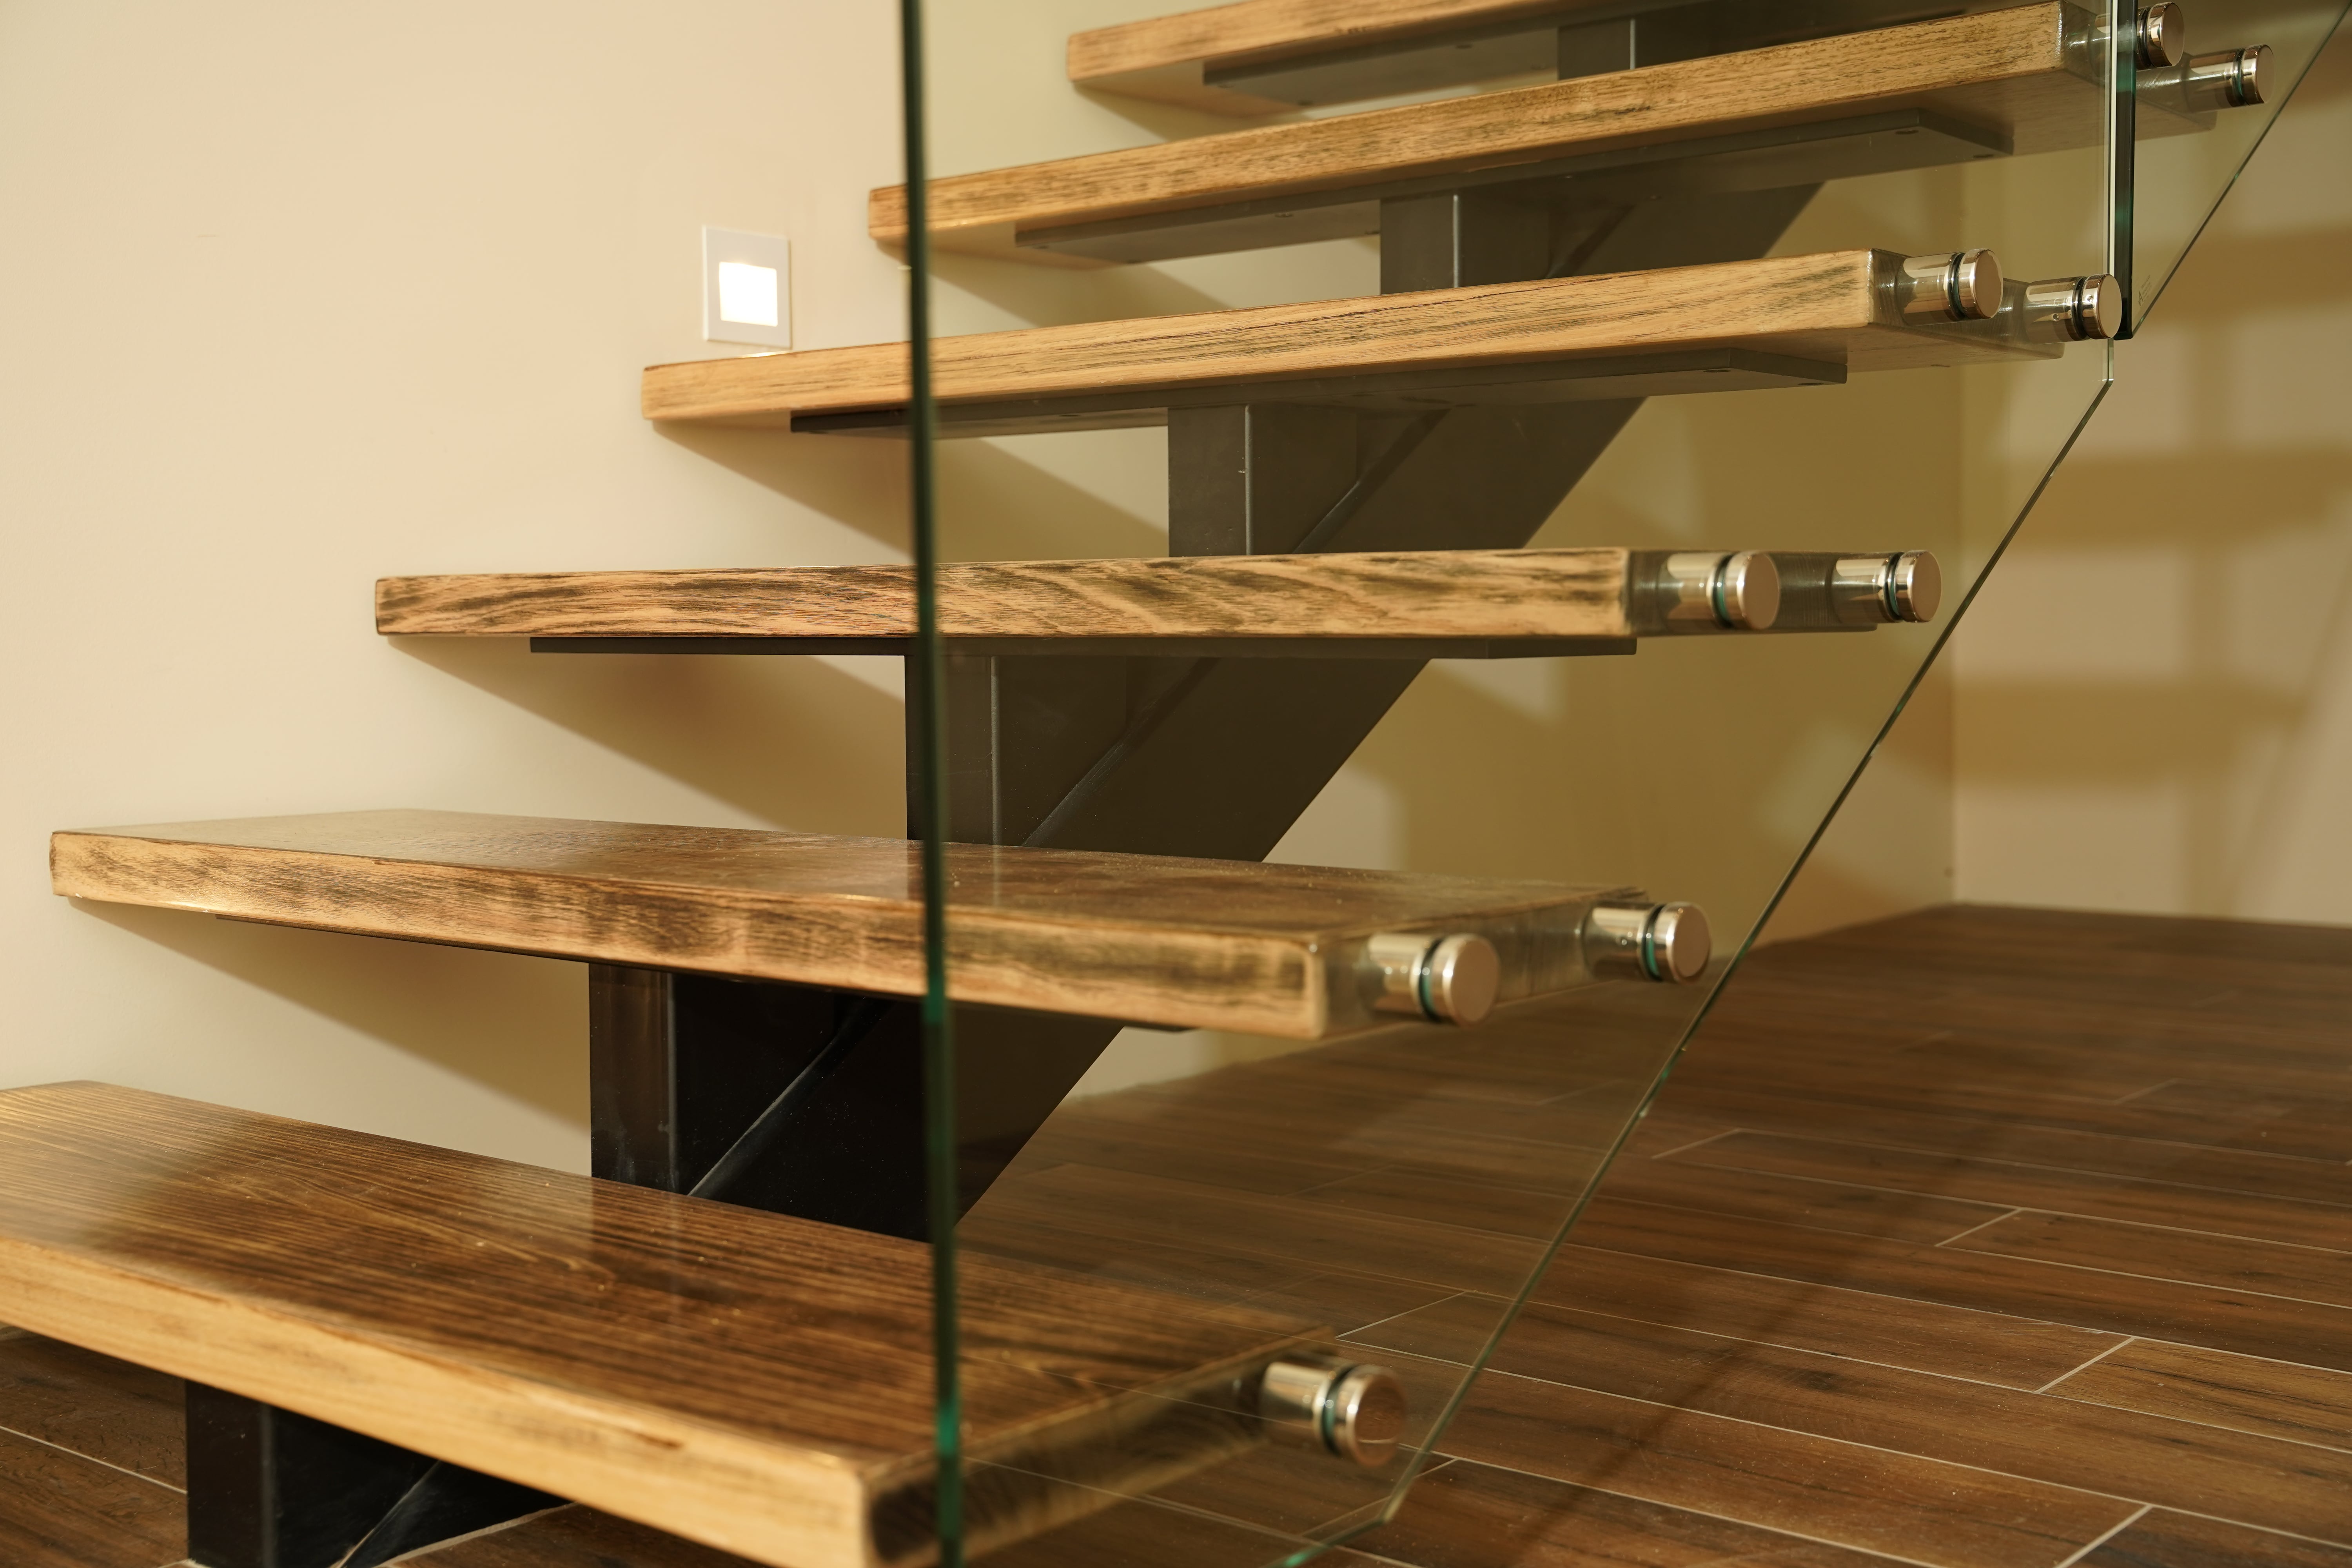
With a side fixed balustrade, the glass connects to the face of the supporting structure using standoff fixings. This leaves the upper surface clear and can create a streamlined edge along stairs, landings and voids.
Neither is automatically the better option.
If keeping the stair or floor edge visually clear is a priority, side fixing may appeal more. If the structure provides suitable support beneath the balustrade, top fixing may make more sense. On an existing staircase, confirm what the structure can support before deciding based on appearance.
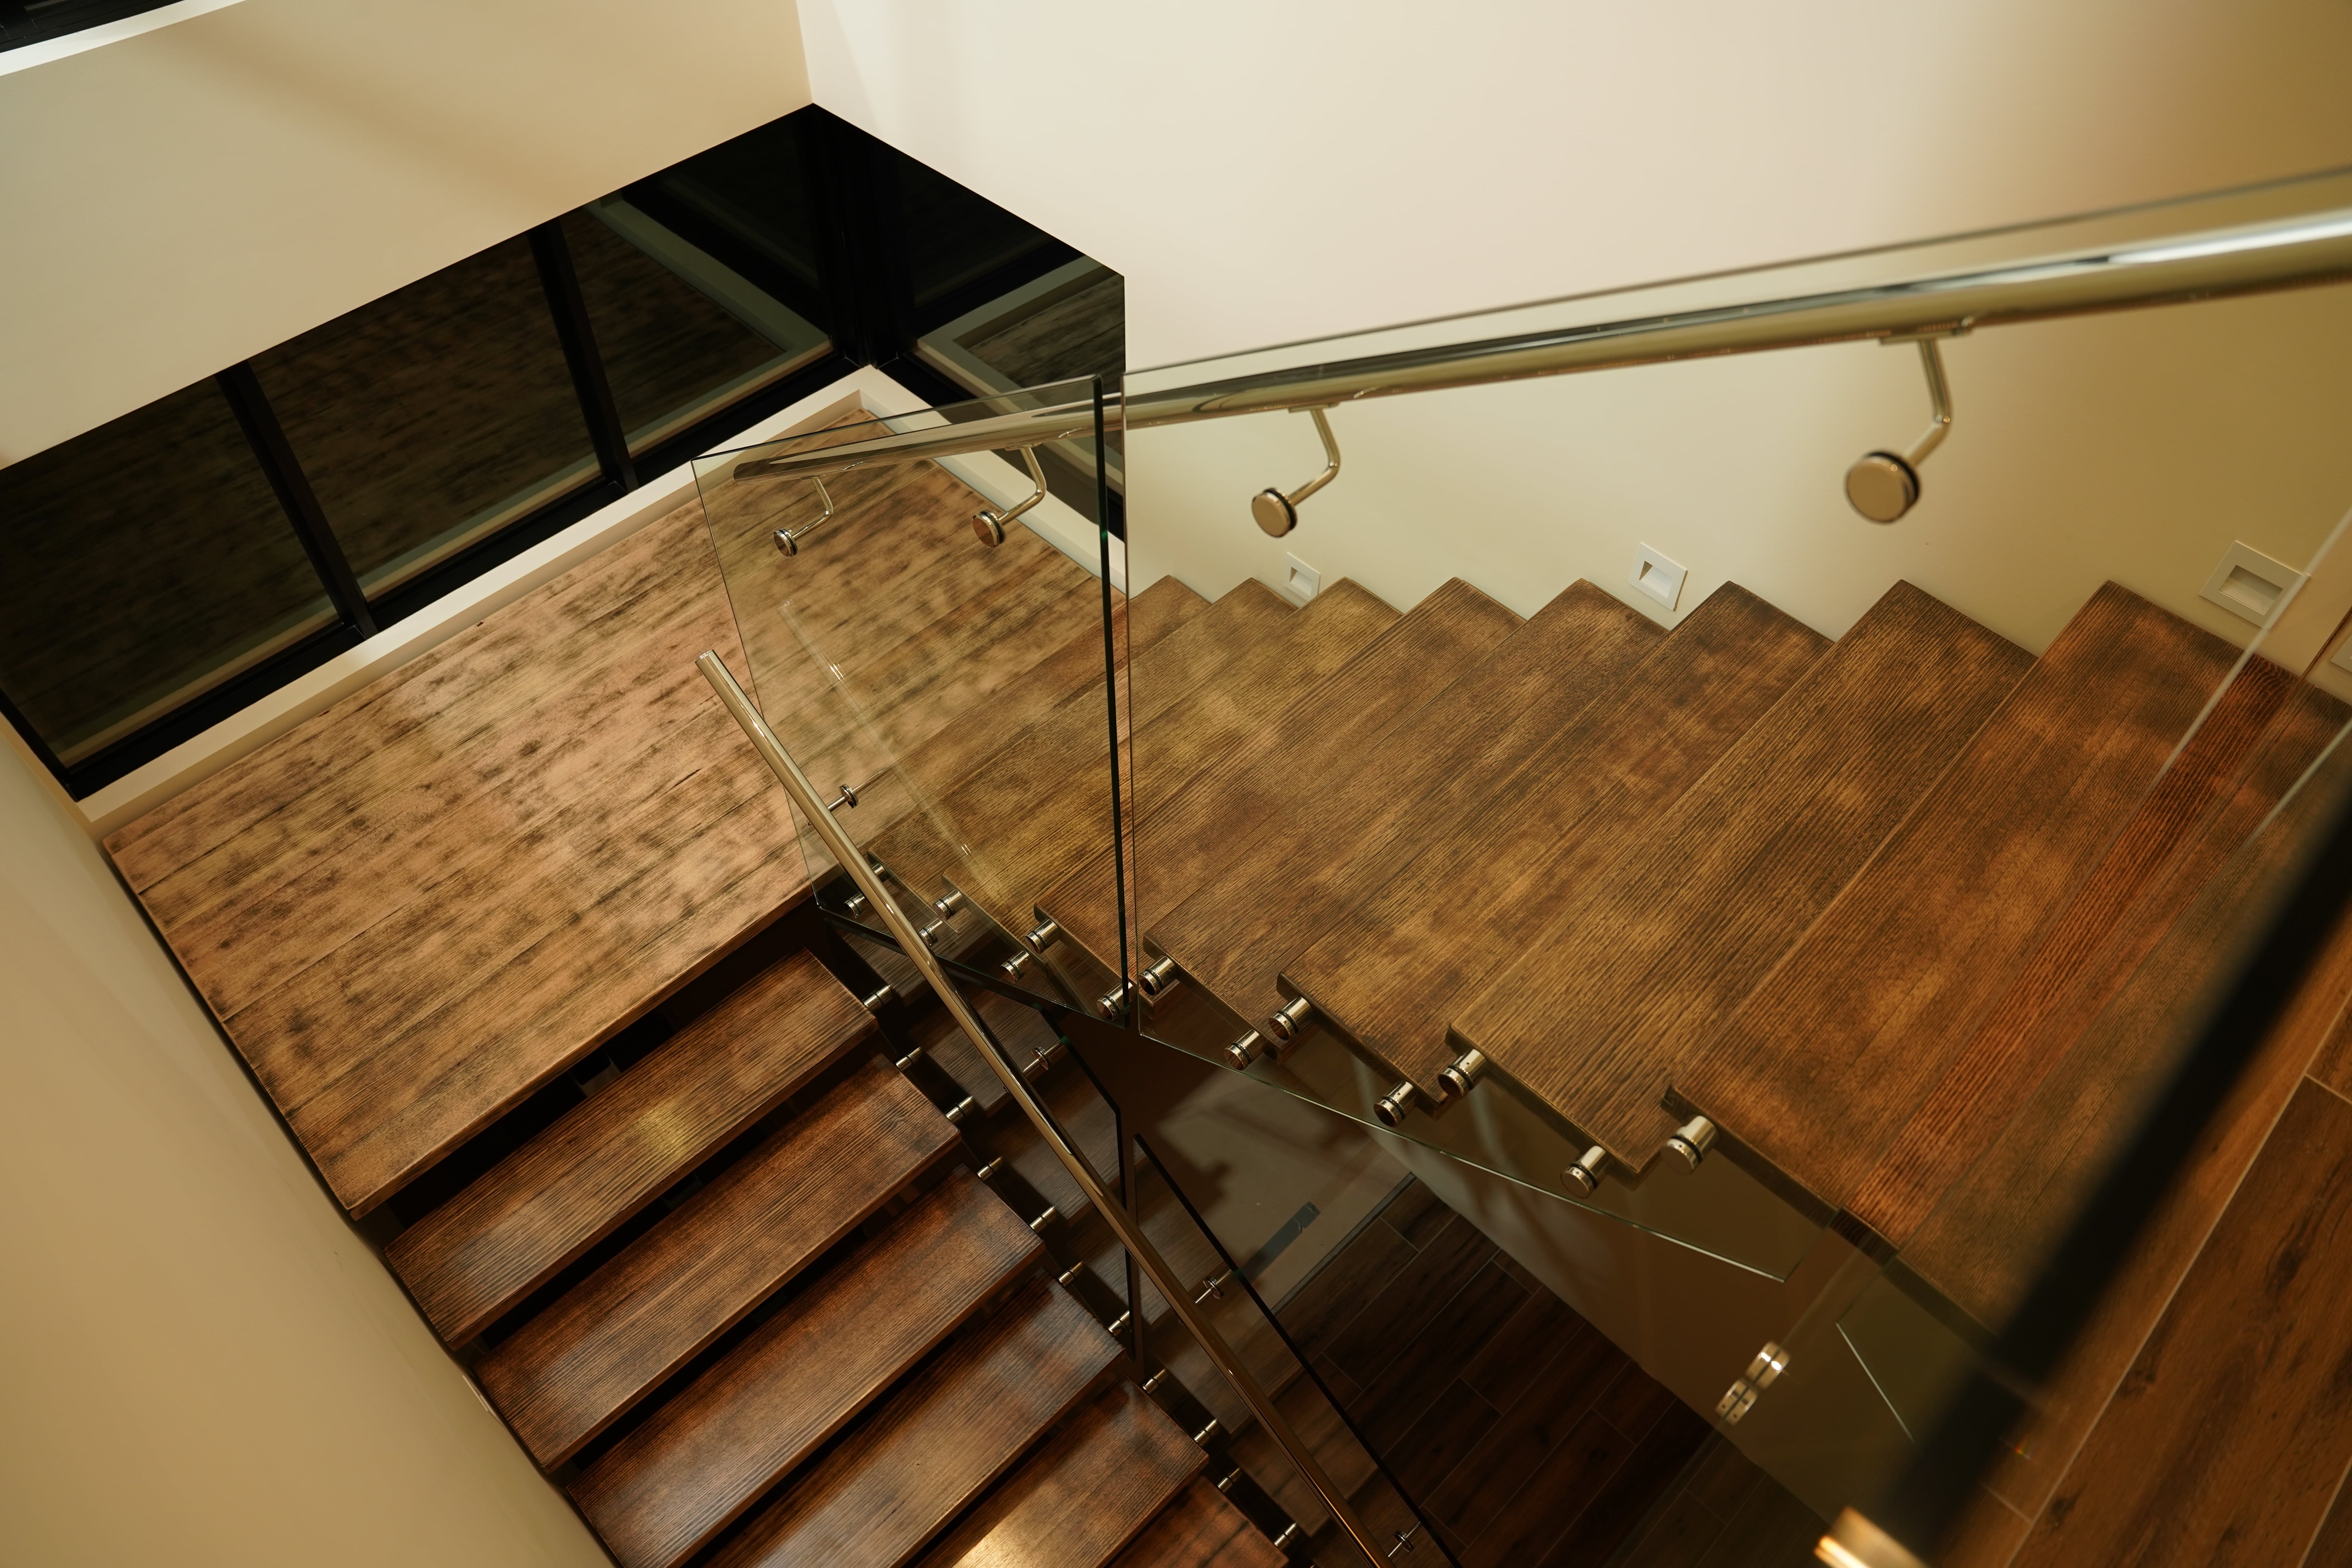
How to Install a Glass Balustrade on Stairs
Installing a glass balustrade on stairs requires precision. Stair angles, landings and changes in level leave less room for error than a straightforward level run.
Every system and site will have its own requirements, but the general process looks like this.
1. Check the Measurements
Confirm the stair run, landings, fixing surfaces and relevant dimensions against the approved drawings.
Even if the site has already been measured, verify the dimensions before installation. A small discrepancy can become much more obvious once the hardware and glass panels are in position.
2. Mark the Fixing Points
Use the project drawings to establish the fixing locations and compare them with the actual structure.
For DIY installation, this is an important checkpoint. Make sure the specified fixings connect to suitable structural support. If the site and drawings do not match, resolve the difference before drilling.
3. Get the Area Ready
Make sure the mounting surfaces are ready, the fixing locations are accessible and surrounding finishes will not interfere with the installation.
On an active building site, coordinate the installation with other trades working around the staircase to help avoid rework.
4. Fit the Hardware
Install the specified spigots, standoffs or other hardware according to the project drawings and instructions.
Accuracy matters. Hardware that is slightly out of position or alignment becomes much easier to spot once the glass goes in. Avoid substituting hardware or changing the specified fixing arrangement without appropriate advice.
5. Bring the Glass Into Position
Carefully position each panel and confirm its alignment and spacing against the drawings.
Glass can be heavy and awkward to manoeuvre, particularly on a staircase. Make sure you have the equipment and assistance required to handle the panels safely.
6. Finish the System
Complete any remaining components required by the design, including the handrail where applicable.
Review the finished balustrade against the approved design and relevant project requirements, including its alignment, fittings and overall configuration.
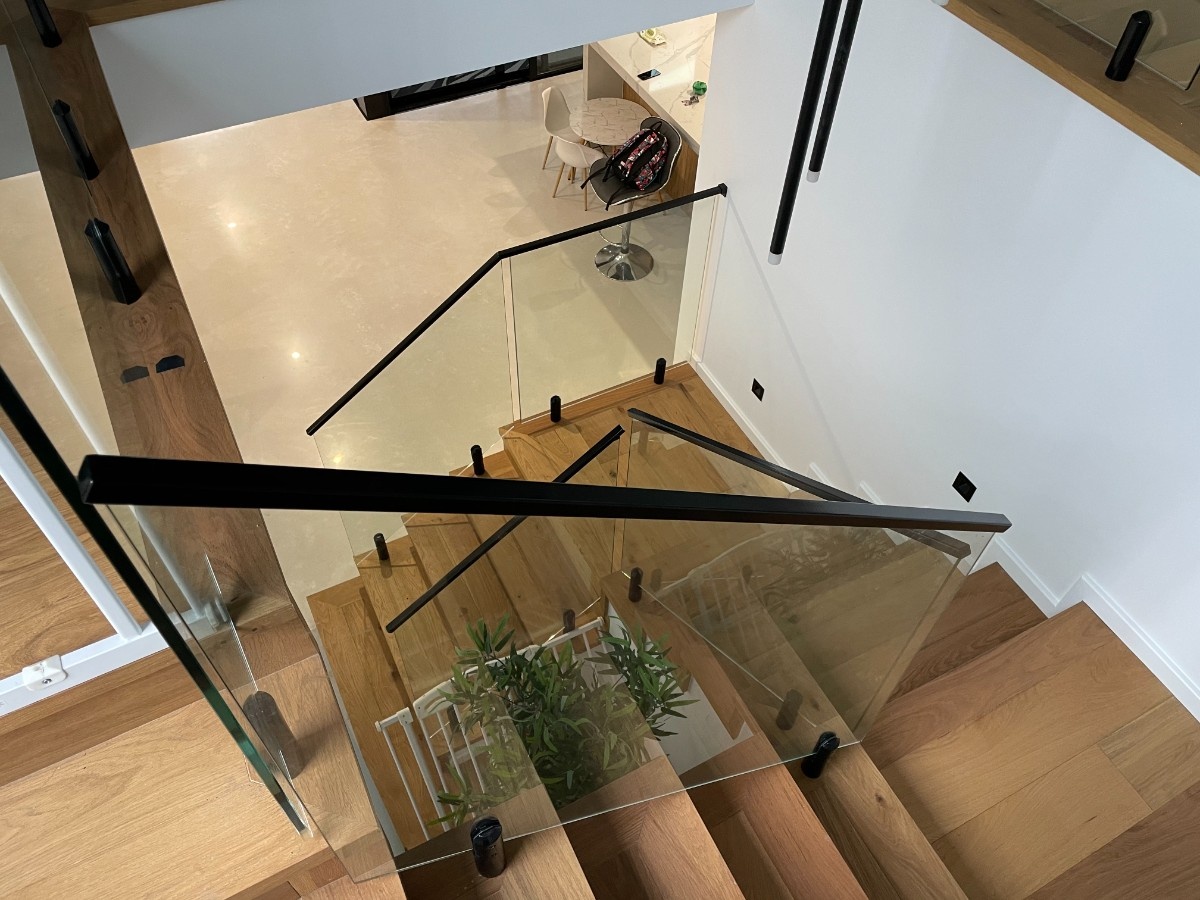
Safety Starts With the Complete Balustrade System
Are glass balustrades safe when there is so little visible support? The answer comes down to the complete system. The glass, hardware, fixings and supporting structure all need to work together as intended.
A frameless glass balustrade is a good example. Very little supporting hardware may be visible in the finished design, but that clean appearance still depends on the correct specification and fixing system.
Compliance needs to be considered from the design stage onwards, rather than checked as an afterthought.
Can You DIY a Glass Balustrade Installation?
For some owner-builders and experienced DIYers, absolutely.
A properly designed system with detailed drawings gives you a clear plan to work from. You still need to be comfortable with:
- Reading and working accurately from drawings
- Identifying what you are fixing into
- Measuring and marking fixing locations precisely
- Using the required tools
- Handling and positioning glass safely
- Spotting when site conditions differ from the plans
If that sounds comfortably within your skill set, a DIY kit may be a practical way forward. Aussie Stairs can design and manufacture DIY stair and balustrade systems to meet the relevant compliance requirements, supported by detailed drawings and technical guidance. The finished installation still needs to follow the supplied design and installation requirements.
Complex stair geometry, structural uncertainty, differences between the drawings and site, or compliance questions can all move a project beyond sensible DIY territory. Homeowners may also prefer to have the complete process managed, while builders may choose professional supply and installation to simplify coordination on site.
The key is recognising that point before installation begins, rather than trying to solve an unsuitable detail as you go.
Getting Your Glass Balustrade Right
The right glass balustrade installation comes down to your design, structure and level of experience. Capable DIYers can choose a supported kit, while homeowners and builders can leave the complete installation to our team.
Explore our DIY balustrade options, request a professional installation quote, or visit our Maddington showroom to talk through your project.
With 400+ five-star Google reviews, Aussie Stairs has extensive experience designing, manufacturing and installing quality stair and balustrade systems, with compliance considered from the start.
This guide provides a general overview of glass balustrade installation, including top fixed and side fixed systems and the considerations involved in DIY installation. Every project is different, and factors such as the supporting structure, site conditions, balustrade design and applicable compliance requirements can affect how a system should be installed.
If you’re unsure which fixing method suits your project, or whether DIY installation is appropriate, we’re always happy to review your plans and help guide you in the right direction.
FAQs
Can glass balustrades be used indoors and outdoors?
Glass balustrades can suit both internal and external applications. The location needs to be considered when specifying the overall system, including the glass, hardware and finishes.
This means a balustrade around an outdoor balcony or deck may have different project considerations from one installed along an internal staircase.
Can you customise the look of a glass balustrade?
Yes. The overall appearance can vary depending on the balustrade design, fixing method, hardware and surrounding staircase finishes.
If you have a particular look in mind, visiting the Aussie Stairs Maddington showroom gives you the opportunity to explore options and discuss how they could work with your staircase.
How early should I choose my glass balustrade design?
It is worth considering the balustrade while the staircase and surrounding finishes are still being planned. Early design decisions give you more opportunity to coordinate the overall look rather than treating the balustrade as a finishing detail at the end.
This is especially useful if you have a particular glass style, fixing detail or architectural finish in mind.





.svg)